 Blaine Exterior
 Why Storm Damage Roof Repair in Blaine Harbor Is Its Own Job
Blaine Harbor sits close enough to the water that every roof up here deals with a combination most inland Whatcom County homes never see: salt-laden air, wind-driven rain coming off the Strait, and a moss season that stretches through most of the wet months. When a storm hits this stretch of coastline, the damage it leaves behind often isn't as simple as "a few shingles blew off." Wind that's been picking up moisture and salt off the water tends to drive rain sideways, under laps and flashing that would shed a straight-down rain just fine. That's why storm repair here has to start with a real inspection of the whole roof system, not just a patch over the spot that's obviously leaking.
This page is specifically about storm damage roof repair for homes in the Blaine Harbor area — not a general storm repair page. The advice below reflects what actually happens to roofs in this microclimate, and how we approach fixing it correctly the first time.
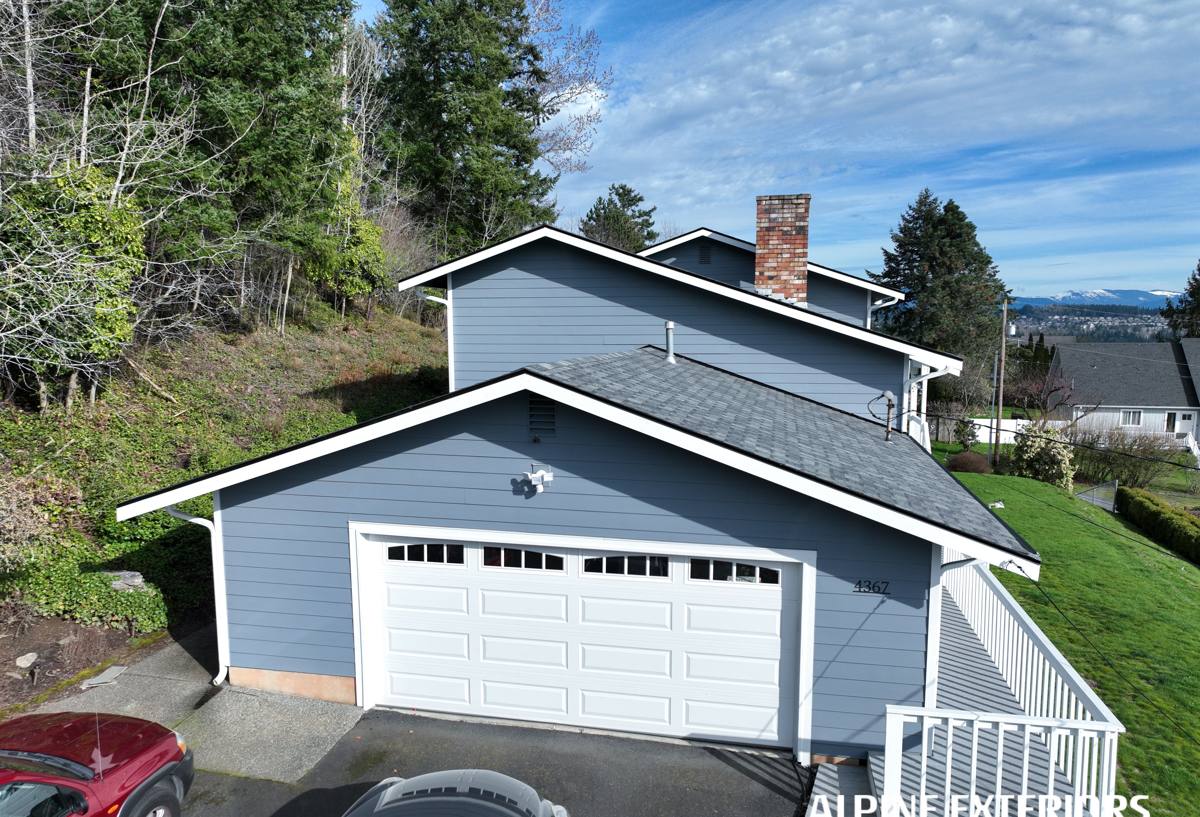
What Blaine Harbor's Climate Does to a Roof Over Time
Salt Air
Airborne salt from the water accelerates corrosion on exposed metal — nails, flashing, gutter hardware, and any fasteners that aren't rated for coastal exposure. A storm that pulls loose a few shingles on an inland roof might, on a Blaine Harbor roof, expose fasteners that were already weakened by years of salt exposure. That's part of why storm damage here can look worse once we get up on the roof than it did from the ground.
Driving Rain
Wind off the water rarely comes straight down. It comes at an angle, and that angle changes what "storm damage" looks like. Water gets pushed up under shingle laps, around chimney and vent flashing, and into any gap in the underlayment that a calm rain would never reach. A roof that's held up fine in years of ordinary weather can still take on water during one bad windstorm if the flashing details weren't built for driving rain in the first place.
Moss Season
Blaine Harbor's long wet season keeps roofs damp for extended stretches, which is exactly what moss needs to take hold. Moss doesn't just sit there — it lifts shingle edges, holds moisture against the roof deck, and works its way into any seam that's already compromised by wind or impact damage. After a storm, a roof with existing moss growth is more vulnerable to water intrusion than a clean one, because the moss has already been prying at the shingle edges before the wind ever showed up.
What Actually Counts as Storm Damage
Not every roof problem after a windstorm is storm damage, and not every storm produces damage that's obvious. Here's how we sort it out during an inspection:
- Wind damage: Missing, lifted, or creased shingles; shingles with torn or cracked tabs; fasteners pulled loose from the deck.
- Impact damage: Bruising or punctures from tree limbs, debris, or hail — often not visible from the ground.
- Flashing failure: Bent, lifted, or separated flashing around chimneys, vents, skylights, and roof-to-wall transitions — a common failure point in wind-driven rain.
- Water intrusion without visible exterior damage: Rain that got pushed under intact-looking shingles and shows up later as a ceiling stain or attic moisture.
- Pre-existing wear that a storm exposed: Aged flashing, worn underlayment, or moss-lifted shingles that finally gave way under storm conditions — not new damage, but the storm is often what reveals it.
That last category matters for how a repair gets scoped and, if you're filing a claim, how it gets documented. We're straightforward with homeowners about the difference between storm damage and ordinary wear — it's the honest answer, and it's also usually the one that gets a claim approved instead of disputed.
Our Storm Damage Repair Process
- Ground-level and roof inspection. We check the obvious areas first — missing shingles, debris, visible flashing damage — then get on the roof to check what the ground view misses: lifted shingle edges, fastener condition, flashing seals, and underlayment exposure.
- Attic and interior check. Water pushed in by wind doesn't always show up right away. We look at the attic deck, insulation, and any interior ceiling areas below suspect zones for early signs of moisture.
- Documentation. Photos of the damage, tied to specific roof areas, before any repair work starts. This is the record you need whether or not you end up filing an insurance claim.
- Scope and estimate. We explain what's storm damage, what's pre-existing wear, and what the repair actually requires — no upsell to a full replacement if a targeted repair will hold.
- Repair. Shingle replacement, flashing repair or replacement, underlayment patching where water reached the deck, and fastener upgrades in areas where corrosion was a factor.
- Final check. We walk the repaired area and the roof generally, confirming the fix is sound and flagging anything else worth watching, like moss regrowth risk or aging flashing nearby that wasn't part of this repair.
Repair Methods and Materials
Not every repair calls for the same approach. What we use depends on where the damage is, how exposed that section of roof is to wind and salt air, and what's already installed. Here's a general comparison of common repair approaches for storm-damaged asphalt shingle roofs, which make up most homes in this area:
| Repair Type | Best For | Trade-Offs |
|---|---|---|
| Spot shingle replacement | Isolated wind damage, a few missing or torn shingles | Fast and economical, but color match on older roofs can be imperfect |
| Flashing repair/replacement | Leaks at chimneys, vents, skylights, wall transitions | Often the real fix behind a "roof leak" — worth doing right rather than just resealing |
| Underlayment patch | Water reached the deck through a shingle gap | Requires pulling surrounding shingles to access — more labor than a surface fix |
| Fastener/hardware upgrade | Corrosion-weakened nails or hardware near the water | Small added cost now, meaningfully reduces repeat storm damage later |
| Section re-roof | Damage concentrated in one area with older, moss-compromised shingles nearby | More cost upfront, but avoids repeated patch repairs on a section that's near end of life |
We size the fix to the actual damage. A roof that's otherwise in good shape doesn't need a full section replacement because of one bad windstorm — but we'll tell you plainly if the surrounding shingles are too far gone for a patch to be worth it.
Insurance and Documentation
Most storm damage claims come down to documentation and timing. If you plan to file a claim, a few things matter:
- Photograph visible damage yourself as soon as it's safe to do so, before any tarping or temporary repair changes the scene.
- Get a professional inspection promptly — the gap between the storm date and the inspection date is something adjusters pay attention to.
- Ask for a written scope of damage that separates storm-caused damage from any pre-existing wear, so there's no ambiguity in what's being claimed.
- Keep any temporary repairs (tarps, emergency patches) documented and receipted — those are typically reimbursable and expected after a storm.
We provide the documentation piece regardless of whether you're filing a claim or paying out of pocket. It's the same inspection either way — the only difference is who ends up reading the report.
Cost Factors for Storm Damage Roof Repair
Costs vary by the extent of damage and what it takes to access and fix it. Broadly, homeowners in this area should expect repair costs to fall somewhere between a few hundred dollars for a small, isolated fix and several thousand for a larger flashing or section repair — the specifics depend on the factors below.
| Factor | Why It Matters |
|---|---|
| Extent of area affected | A few shingles vs. a full slope changes labor and material needs significantly |
| Roof pitch and access | Steeper or harder-to-reach roofs take longer and require more safety setup |
| Flashing complexity | Repairs around chimneys, skylights, and multiple roof planes take more time than open-field shingle work |
| Underlying deck condition | If water reached the deck, repair may involve more than surface-level shingle work |
| Age and condition of surrounding roofing | Older, moss-affected shingles nearby may not match or hold up as well next to new repair work |
What to Do Right After a Storm
- Stay off the roof — wet, wind-damaged roofing is not safe to walk, especially with moss present.
- Check the attic and ceilings for staining, dampness, or a musty smell, even if you don't see obvious exterior damage.
- Photograph any visible damage from the ground before arranging temporary repairs.
- Tarp only what's necessary to stop active water intrusion, and keep records of that work.
- Get an inspection scheduled promptly — delayed inspections make both the repair and any insurance claim harder.
- Avoid quick sealant-only fixes on flashing issues — they often mask a leak rather than stop it.
Why a Local Blaine Harbor Crew Matters Here
A roofing crew that works this specific stretch of Whatcom County coastline knows what the salt air does to fasteners after a few years, how far driving rain from the Strait actually gets pushed under a lap, and which flashing details tend to fail first in this kind of weather. That's not something a crew coming from inland picks up on the first job. It also means faster response after a storm — no drive time from across the county when water is actively getting into your attic — and a repair that accounts for what the next storm season will do, not just what this one did.
Get a Free, No-Pressure Estimate
If your Blaine Harbor home took storm damage, or you're not sure whether what you're seeing is storm-related or just wear that finally showed itself, we'll come take a look and give you a straight answer. The estimate is free, there's no pressure to move forward, and you'll get a clear scope of what's actually needed — use the form below to get started.