 Blaine Exterior
 Siding Repair in Dakota Creek: A Different Kind of Wear
Dakota Creek sits close to the water where Blaine meets Drayton Harbor and Semiahmoo Bay, and that location shapes how siding ages here. Homes in this pocket of Whatcom County deal with a steady flow of salt-laden air, wind-driven rain that comes in sideways off the water, and a moss season that can run most of the year in shaded, damp spots. None of that is unusual for the Pacific Northwest coast, but it adds up faster in Dakota Creek than it does a few miles inland, and it shows up first in the siding.
A lot of siding repair calls we get in this area start the same way: a homeowner notices a soft spot, a stain, or a patch of green growth and wants to know if it's serious. Sometimes it's cosmetic. Sometimes it's the first visible sign of moisture that's already been working behind the panel for a season or two. The only way to tell the difference is to actually open it up and look, which is where a lot of repair jobs go wrong — either they get skipped entirely, or they get covered over instead of fixed.
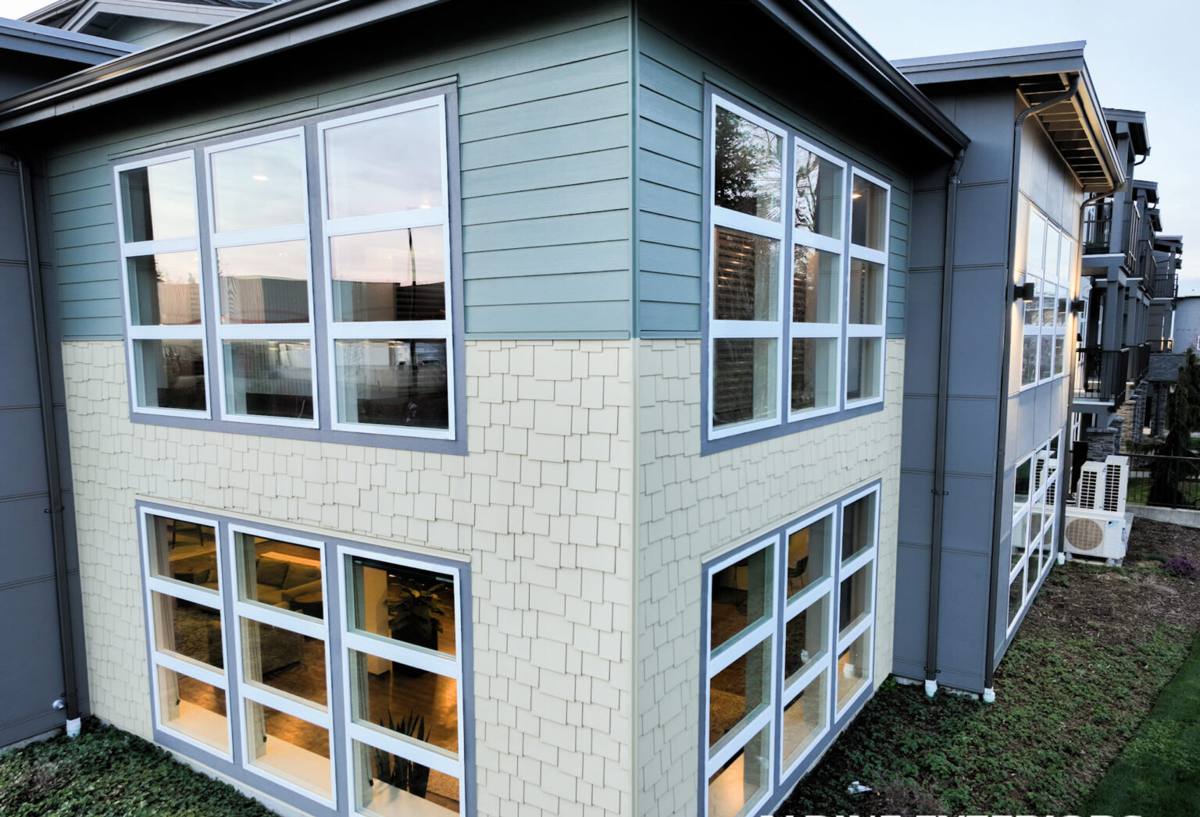
The Damage We See Most Often Near the Water
Moisture and Rot at the Base
Lower courses of siding, corners, and anything near grade take the brunt of splashback and standing moisture. In Dakota Creek, where the ground can stay damp longer between dry stretches than it does further from the harbor, this is the single most common repair we're called out for. Left alone, soft or swollen siding at the base is usually a sign that sheathing or framing underneath is already wet.
Cracked, Buckled, or Separated Panels
Wind off the bay puts real pressure on siding, and repeated wetting-and-drying cycles cause some materials to expand, contract, and eventually crack or pull away from the wall. Once a seam opens up, it becomes an entry point for the next round of rain — which is why small cracks rarely stay small for long in this climate.
Moss, Algae, and Persistent Staining
Shaded walls, north-facing elevations, and anything close to trees or fencing hold moisture longer, and that's exactly where moss and algae take hold first. Surface growth is often just cosmetic, but it traps moisture against the siding and can hide early rot underneath — which is why we always check what's under it rather than just pressure-washing and calling it done.
A few signs it's time to get a repair looked at rather than waiting:
- Soft, spongy, or spongy-feeling siding when you press on it near the bottom edges or corners
- Visible cracking, warping, or panels that no longer sit flat against the wall
- Peeling or bubbling paint in one localized area, rather than uniformly across the house
- Dark staining, streaking, or a musty smell near an exterior wall on the inside of the home
- Moss or algae that keeps coming back in the same spot within a few months of cleaning
- Gaps opening up around windows, doors, or trim where siding meets other materials
What a Correct Siding Repair Actually Involves
A proper repair is not caulk, a patch, and a coat of paint over the problem. It starts with figuring out why that section failed in the first place — because if the underlying cause (a flashing gap, a caulk failure, poor drainage, a missing weather barrier detail) isn't addressed, the same spot will fail again, usually within a year or two.
A repair done right generally includes:
- Removing the damaged siding, not just the visibly bad piece, to check how far moisture has traveled
- Inspecting the house wrap, flashing, and sheathing underneath before anything goes back on
- Replacing any compromised sheathing or framing rather than covering it up
- Correcting the actual cause of the failure — flashing, sealant, drainage, or clearance issues
- Matching new siding material, profile, and finish so the repair doesn't stand out
- Re-sealing and re-painting to blend the repaired section with the surrounding wall
Skip any of those steps and you've bought yourself a repair that looks fine for a season and then reopens the same problem — often after it's had more time to spread.
Repair or Replace? How We Make That Call
Not every damaged wall needs full replacement, and not every repair is worth doing on its own. The right call usually comes down to how much of the house is affected, what the existing material is, and how much moisture damage has already spread underneath. Here's how we generally think about it:
| Situation | Repair Usually Makes Sense | Replacement Usually Makes Sense |
|---|---|---|
| Extent of damage | One wall, corner, or a handful of isolated panels | Damage recurring across multiple elevations |
| Underlying sheathing | Dry, sound wood behind the affected area | Rot, soft spots, or moisture found in several locations |
| Age and material of existing siding | Newer siding still within its expected service life | Original siding nearing or past its typical lifespan, or a material prone to repeat failure |
| Cause of failure | A localized, fixable install detail (flashing, sealant, clearance) | A systemic issue — for example, a material that struggles with this climate generally |
| Cosmetic match | New material can be closely matched to existing siding and finish | Existing siding is discontinued, faded, or won't match a patch cleanly |
We'll always tell you honestly which side of that table your house falls on. If a repair will hold, we'll say so — a full re-side isn't the right answer for every problem, and we'd rather earn your trust with an honest assessment than sell a bigger job than you need.
Our Process for Dakota Creek Siding Repairs
- On-site inspection. We look at the damaged area and the surrounding wall, not just the spot you called about — siding failures near the water often show up in more than one place at once.
- Moisture and structural check. Where damage looks like more than surface-level, we open it up to see what's happening behind the panel before quoting anything.
- Honest scope and estimate. You get a clear explanation of what's actually wrong, what caused it, and whether a repair or a larger fix is the right move — no upsell, no guesswork.
- The repair itself. Damaged material and any compromised sheathing come out, the cause gets corrected, and new material goes in matched to your home's existing siding, color, and trim.
- Final check and cleanup. We confirm the repaired section is sealed and weathertight before we consider the job finished, and we clean up the work area completely.
Why We Rebuild Damaged Sections With James Hardie
When a repair calls for new material — whether it's a small patch or a larger section — we rebuild with James Hardie fiber cement, and we don't install anything else. That's a deliberate standard, not a default. Fiber cement doesn't absorb water the way wood-based products can, it's non-combustible, and Hardie's ColorPlus factory finish holds up to UV and salt air noticeably better than field-applied paint, which matters directly in a spot like Dakota Creek where sun, salt, and moisture are all working on the same wall.
Hardie also builds region-specific product lines engineered for exactly this kind of exposure — coastal Pacific Northwest conditions call for their HZ5 formulation, which is designed to resist moisture and freeze-thaw cycling better than a general-purpose product. That engineering, paired with a strong transferable warranty, is why a Hardie repair or rebuild tends to actually last rather than becoming a repeat call in a few years.
If your existing siding isn't Hardie, we can usually still make a small, isolated repair work with compatible material to avoid an unnecessary full re-side. But if the damage is extensive enough that replacement is the honest recommendation, we'll walk you through why we'd rebuild that section — or the whole elevation — in Hardie rather than matching back to the original product.
Why Local Experience in Dakota Creek Matters
A repair crew that hasn't worked this specific stretch of Blaine can miss things that are obvious to one that has. Wind exposure off the bay, which elevations take the worst of the driving rain, where moss tends to establish first, and how quickly a small leak can travel through wall assemblies near the water — all of that is knowledge you build by actually working these homes, not by reading a spec sheet.
It also matters for getting the details right the first time: correct flashing at transitions, proper clearance at grade, and sealant choices that hold up to salt air instead of failing early. A repair crew that's already familiar with how Whatcom County's coastal conditions treat siding is less likely to leave you back at square one in eighteen months.
Keeping Repaired Siding Protected Going Forward
A correct repair should last, but a little upkeep goes a long way in this climate. After a repair, we recommend:
- Rinsing off moss and algae buildup at least once a year, more often on shaded or north-facing walls
- Keeping gutters and downspouts clear so water isn't dumping directly onto siding or the ground beside it
- Trimming back vegetation and shrubs so walls get airflow and sunlight to dry out between rain
- Doing a quick walk-around each fall to catch new cracks, gaps, or soft spots before winter's rain sets in
- Re-caulking joints and trim as needed — sealant is often the first thing to give out near salt air
If you're seeing soft spots, cracking, or persistent moss on your Dakota Creek home, it's worth getting a straight answer on what's actually going on before it spreads. We're happy to come take a look and give you a free, no-pressure estimate — whether that ends up being a simple repair or something bigger.