 Blaine Exterior
 Building New in California Creek? Windows Are Where Most Water Problems Start
If you're framing a new home or a major addition in California Creek, the windows you choose and how they're installed will do more to determine your long-term maintenance headaches than almost any other exterior decision. This isn't a generic "pick a nice window" situation. California Creek sits close enough to Semiahmoo Bay and the Strait of Georgia that salt-laden air is a real factor in fastener and hardware corrosion, and like the rest of Whatcom County, the area gets long stretches of driving rain off the water combined with a moss season that can run from fall through spring. New-construction windows have to be detailed correctly from the studs out, because once the siding and trim go on, fixing a bad window install means tearing back into finished work.
We install new-construction windows throughout Blaine and the surrounding county, and California Creek's mix of coastal exposure and tree cover means we approach the flashing and drainage details a little differently than we would on a more sheltered inland lot.
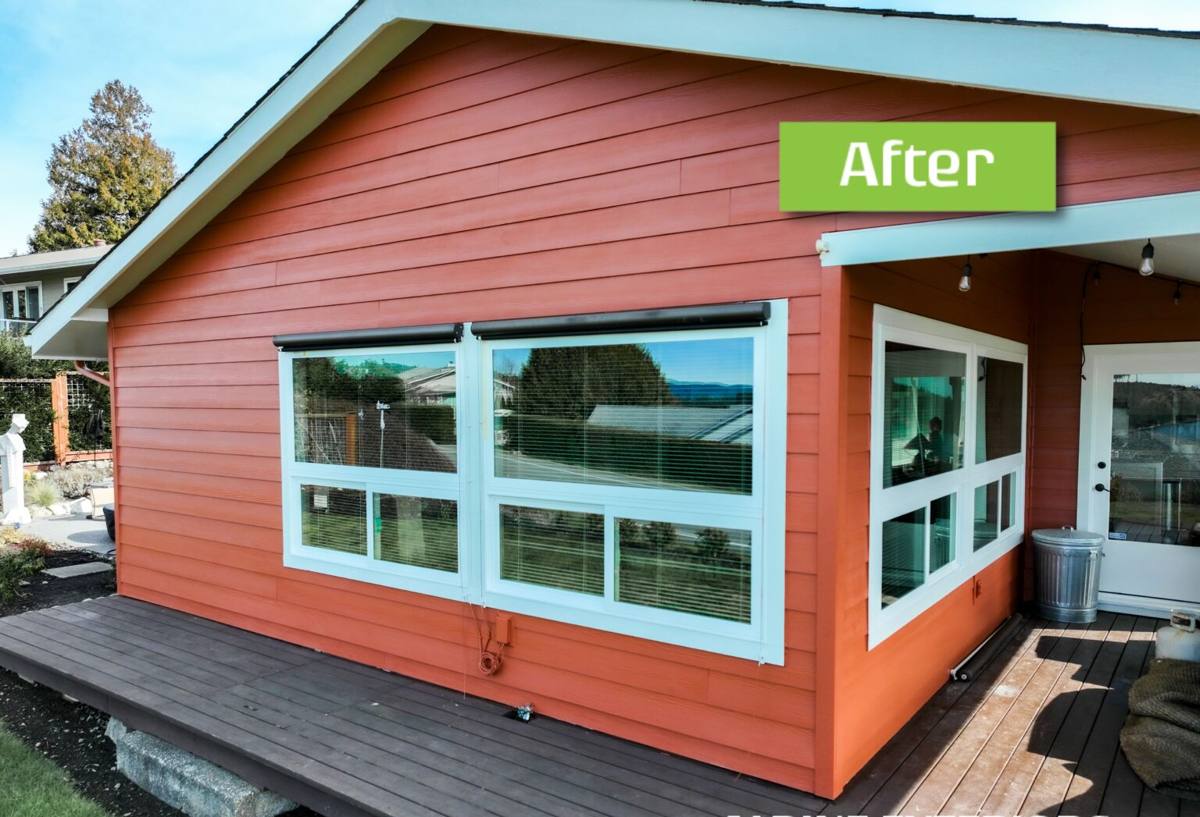
New-Construction Windows vs. Replacement Windows — Why It Matters Here
New-construction windows have a nailing flange (fin) around the perimeter that gets fastened directly to the sheathing before the weather-resistive barrier (WRB) and siding go on. Replacement windows, by contrast, are designed to fit into an existing opening without disturbing the exterior finish. On a new build or addition in California Creek, you want the flange style — it lets us integrate the window fully into the wall's water-management system rather than relying on caulk alone to keep wind-driven rain out.
That integration is the whole game in this climate. A flanged window installed with proper flashing sheds water down and out, layer over layer, the same way shingles do on a roof. Get the sequencing wrong — flashing tape over the flange instead of under it at the head, for example — and you've built a place for water to collect behind the siding, which in a wet coastal climate shows up as rot or mold sooner rather than later.
What Makes California Creek's Exposure a Bit Different
- Salt air: Homes closer to the water see faster corrosion on exposed screws, hinges, and lesser-grade cladding — we pay attention to fastener and flashing material choices accordingly.
- Driving rain: Storms coming off the water push rain sideways into wall assemblies, which puts more stress on head flashing and sill pans than a typical inland install.
- Long moss season: Shaded lots and tree-lined properties common around California Creek stay damp longer into spring, so any missed drainage path has more time each year to do damage before it dries out.
What a Correct New-Construction Window Install Actually Involves
A window is only as good as the opening it's set into. On every new build, our sequence looks like this:
- Rough opening check. Confirm the opening is square, level, and sized correctly before the window ever shows up on site — this is the step that gets rushed on tight schedules and causes problems later.
- Sill pan flashing. A sloped, back-dammed sill pan under every window so any water that does get past the glazing or frame drains back outside instead of sitting on the sill.
- WRB integration. The weather-resistive barrier is cut, lapped, and taped so water is directed over the flange at the sides and bottom, and under the WRB at the head — never the reverse.
- Setting the window. Shimmed plumb, level, and square, fastened per the manufacturer's schedule so the frame isn't racked or bowed, which affects both the seal and how smoothly the sashes operate for years to come.
- Sealant at the right layers only. Sealant belongs at specific joints, not smeared everywhere as a substitute for correct flashing — over-sealing can actually trap water inside a wall assembly.
- Interior air sealing. A continuous air seal at the interior side of the frame improves comfort and energy performance and keeps humid indoor air from condensing inside the wall cavity.
Choosing the Right Window for This Location
Frame material matters more near the water than most homeowners expect. Here's how the common options stack up for a California Creek build:
| Frame Type | Salt Air / Coastal Performance | Maintenance | Typical Fit |
|---|---|---|---|
| Vinyl | Good — won't corrode; UV-stable formulas hold up to marine light exposure | Low — no painting, occasional cleaning | Most budget-conscious new builds |
| Fiberglass | Very good — dimensionally stable, resists the swelling that coastal moisture cycles can cause in lesser materials | Low to moderate | Homeowners wanting higher-end performance without wood upkeep |
| Wood-clad (aluminum or vinyl exterior) | Good on the exterior face, but any breach in the cladding exposes wood to a wet climate | Moderate — exterior cladding is low-care, but seams and corners need periodic inspection | Traditional or high-end aesthetic where the look of wood interior trim matters |
| Bare aluminum | Poor to fair near salt air without upgraded finishes — more prone to pitting and corrosion over time in this exposure | Moderate to high | Generally not our first recommendation this close to the water |
We're happy to walk through brand and glass-package options during an estimate, but frame material and correct installation detailing matter more to long-term performance here than any single brand name.
Glass and Hardware Choices Worth Discussing
Beyond frame material, a few choices are worth deciding on early since they're easier to spec during framing than to retrofit later:
- Low-E glass packages to manage both winter heat loss and summer solar gain — useful given Whatcom County's mix of cold, wet winters and increasingly warm summer stretches.
- Corrosion-resistant hardware (locks, hinges, cranks) on any window with real coastal exposure, rather than standard-grade hardware that may pit or stick sooner in salt air.
- Screen and weep system design that stays clear of the moss and organic debris that's common on shaded Whatcom County lots — clogged weep holes are a quiet cause of window leaks that shows up years after a home is built.
Why Local Installation Experience Matters
Window flashing details that work fine in a dry inland climate aren't always adequate for a site with California Creek's rain and salt exposure. A crew that installs windows across Blaine and Whatcom County regularly sees how these details perform over multiple wet seasons — which drainage approaches actually keep water out, and which ones look fine on installation day but fail two or three winters later. That's the kind of judgment that doesn't come from a manufacturer's install sheet alone.
Working with a local crew also means someone who understands how California Creek's site conditions — tree cover, wind exposure, proximity to the water — should influence decisions your builder or architect may not have flagged.
Questions Worth Asking Any Contractor Before They Set Your Windows
- Do you install a sloped, back-dammed sill pan under every window, or rely on caulk alone?
- How do you sequence the WRB and flashing tape at the head versus the sides and sill?
- What fastener and hardware upgrades do you recommend this close to salt air?
- Can you walk me through your process for a home with heavier tree cover and moss exposure?
- Do you warranty your installation work separately from the manufacturer's product warranty?
Common Mistakes We See on New Builds in This Area
Most window leaks we're called to diagnose on newer homes trace back to a handful of repeatable mistakes: flashing tape lapped in the wrong order at the head, missing or flat (non-sloped) sill pans, over-reliance on sealant instead of proper drainage layering, and weep holes that get blocked by trim, paint, or landscaping debris. None of these show up on move-in day — they show up two, three, or more wet seasons later, which is exactly why getting the sequence right the first time matters more here than in a drier climate.
Our Process, From Framing to Final Walkthrough
For new construction, we typically coordinate directly with your builder or general contractor to fit into the framing schedule without causing delays. We review the window schedule and rough openings before delivery, install using the sill-pan-and-flashing sequence described above, and do a final check of operation, seal, and hardware before the siding crew closes in the wall. If you're the homeowner managing your own build, we're glad to work directly with your framer or GC to keep everyone on the same page about timing and sequencing.
If you're planning a new build or addition in California Creek and want windows installed right the first time, we're glad to take a look at your plans and talk through options. Reach out for a free, no-pressure estimate — there's a short form below to get started.