 Blaine Exterior
 Building New in Birch Bay Means Building for the Water and the Wind
Birch Bay sits right up against the Salish Sea, and that proximity shapes everything about how a new home should be built — windows included. Salt-laden air moves inland on a regular basis, wind-driven rain comes in sideways during the wetter months, and the long stretch of overcast, damp weather common to Whatcom County keeps moss and algae growing on anything that stays wet too long. None of that is a reason to avoid big, bright windows in a new build. It's a reason to make sure the window package, the flashing details, and the installation sequence are matched to this specific environment from day one, rather than treated the same way they'd be treated on a new build fifty miles inland.
New construction gives you an advantage that a remodel or replacement project doesn't: the wall is open. Flashing, house wrap, and window selection can all be coordinated before siding ever goes up, which means fewer compromises and a much lower chance of a callback two years down the road when the first real storm tests the seals.
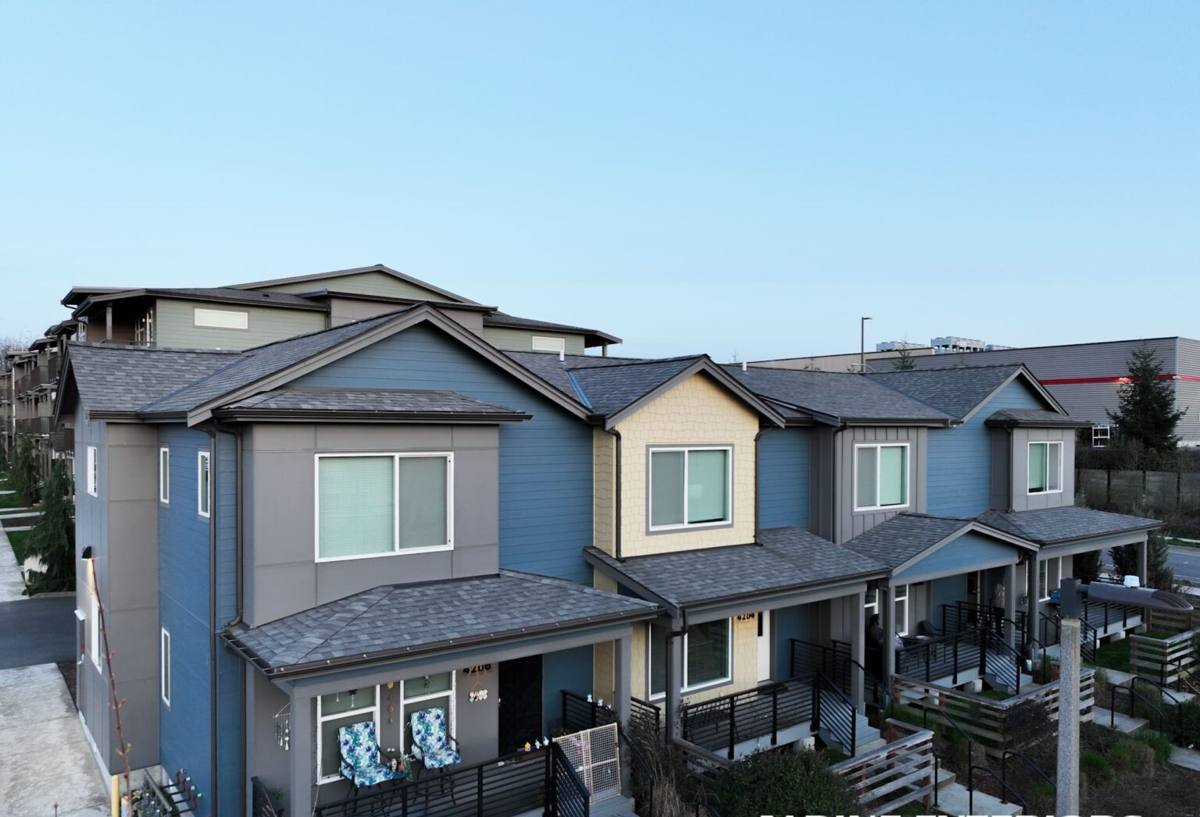
What Local Conditions Actually Demand From a Window
Salt Air and Corrosion
Airborne salt accelerates corrosion on hardware, fasteners, and some frame finishes. On a coastal build in Birch Bay, we pay attention to the metal components a homeowner never sees after installation is done — screws, flashing tape adhesives, and cladding fasteners all need to hold up to salt exposure, not just look good on install day.
Wind-Driven Rain
Rain that falls straight down is a much easier problem to solve than rain that's being pushed sideways by wind off the water. Wind-driven rain finds gaps that vertical rain never would, which is why sill pan flashing and proper head flashing integration with the house wrap matter more here than they would in a more sheltered inland location.
Moss and Sustained Moisture
Whatcom County's long damp season keeps exterior surfaces wet for extended stretches, and moss doesn't need much encouragement to take hold on sills, trim, and anywhere water sits instead of shedding. Window details that promote drainage and quick drying reduce the moss and mildew buildup that otherwise creeps onto trim and siding around the opening.
Choosing a Frame Material for a Coastal New Build
There's no single "right" material for every new-construction project — the right choice depends on the home's design, budget, and how much upkeep the owner wants to take on. Here's how the common options compare for a Birch Bay build specifically:
| Frame Material | Coastal Durability | Maintenance | Notes for Birch Bay |
|---|---|---|---|
| Vinyl | Good | Low | Won't corrode; verify reinforced frames on larger openings for wind load |
| Fiberglass | Very good | Low | Dimensionally stable in temperature swings; handles moisture well |
| Aluminum-clad wood | Good with proper detailing | Medium | Attractive interior wood look; cladding needs continuous, well-sealed joints |
| Solid wood | Requires diligent upkeep | High | Best suited to protected elevations, not full weather exposure |
For openings facing prevailing wind and rain — generally west and southwest-facing walls in this area — we lean toward materials and finishes that shrug off moisture with minimal owner maintenance. For more protected elevations, homeowners have more flexibility to prioritize appearance.
Getting the Installation Sequence Right During Framing
New-construction windows are typically installed with a nailing fin that gets integrated directly into the house wrap and flashing system, rather than a flush-fin or block-frame approach used in retrofit work. Getting this sequence right the first time matters far more than fixing it later, because most of it gets buried behind siding.
The Order That Actually Works
- Rough openings checked for square, level, and correct dimensions before any window arrives on site
- Sill pan flashing installed first, sloped to shed water outward, not into the wall cavity
- Window set, shimmed, and fastened per the manufacturer's structural requirements
- Jamb and head flashing integrated with the house wrap in the correct shingle-lap order — always working top-down so water sheds over each layer
- Flashing tape and sealant applied at a temperature and humidity the products are rated for, which we track closely given how often Whatcom County days start damp
- Interior and exterior air sealing completed before insulation and siding close the wall up
Skipping or reordering any of these steps is how a brand-new window ends up with a moisture problem before the house is even five years old — and once siding is on, tracing the source of a leak is far more disruptive than getting the sequence right the first time.
Our Process for New-Construction Window Projects in Birch Bay
We coordinate with builders and homeowners at whatever stage we're brought in — some projects come to us at the framing plan stage, others once the shell is already up and rough openings are cut.
- Review the building plans and window schedule for size, swing, and performance ratings appropriate to the home's orientation
- Walk the site to check rough openings against actual window dimensions before ordering
- Confirm flashing and house wrap sequencing with the framer or general contractor so there's no ambiguity about who installs what, in what order
- Install windows following manufacturer specifications and a flashing sequence suited to wind-driven rain exposure
- Document the installation at each stage so there's a record behind the siding, not just a finished look
- Final walkthrough with the homeowner or builder to check operation, seals, and hardware before the project closes out
Working Alongside Builders
On new construction, we're rarely the only trade in the house that week. Framers, siding crews, and sometimes electricians are all moving through the same openings. Part of doing this well in Birch Bay is showing up on the schedule the builder actually needs, not the schedule that's easiest for us — a window installed out of sequence with the weather barrier is a problem no matter how well the window itself is made.
Common Mistakes We See on New Builds in This Area
Most window failures on new construction aren't caused by a bad window — they're caused by a detail that got rushed or skipped during the build. On coastal projects specifically, we watch for:
- Sill pans skipped or installed flat instead of sloped to drain
- Flashing tape applied over damp or dusty sheathing, which fails to bond properly
- House wrap lapped in the wrong order relative to the flashing, sending water behind the barrier instead of over it
- Fasteners or hardware not rated for coastal salt exposure
- Rough openings cut slightly out of square, forcing the window frame during installation and stressing seals from day one
- Trim and sill details that trap water instead of shedding it, inviting moss and mildew early
Cost Factors on a New-Construction Window Package
Every project is different, but the same handful of factors drive most of the cost difference between one new-construction window package and another:
| Factor | Impact on Cost | Why It Matters in Birch Bay |
|---|---|---|
| Frame material | Low to high | Fiberglass and quality vinyl trade a higher upfront cost for lower long-term maintenance in salt air |
| Glass package | Medium | Better performance glazing helps with wind exposure and energy efficiency on exposed elevations |
| Window size and count | High | Larger view windows facing the water often need reinforced frames for wind load |
| Flashing and detailing complexity | Low to medium | Doing it right the first time costs little extra compared to a leak repair later |
| Site access and building stage | Low to medium | Coordinating install timing with framing and siding crews keeps labor efficient |
As a rule, the smartest money on a coastal new build goes toward proper flashing and sequencing — it costs very little relative to the total project, and it's the single biggest factor in whether the windows still perform well after the home has weathered a few winters.
Why Hiring a Crew That Already Works in Birch Bay Matters
Window installation standards that work fine in a dry, sheltered inland community don't automatically hold up on a shoreline lot exposed to wind off the water. A crew that regularly works new construction in Birch Bay and the surrounding Blaine area already knows which elevations take the worst of the weather, how the local moisture cycle behaves through the year, and which flashing details actually need extra attention here versus what's standard elsewhere. That local pattern recognition is difficult to replicate on a one-off visit from a crew based somewhere drier.
It also means fewer surprises during permitting and inspection. Whatcom County and the City of Blaine review new construction against current building code, and window installation details — flashing, egress sizing, energy performance — are part of that review. A crew familiar with local inspectors and requirements can flag issues before they become delays.
After Move-In: Keeping New Windows Performing Well
A correctly installed new-construction window needs very little from a homeowner, but the coastal environment still calls for occasional attention:
- Rinse salt residue off frames and glass periodically, especially on elevations facing the water
- Keep weep holes and sill tracks clear of debris so water can drain as designed
- Check exterior caulking annually where trim meets siding, and address any cracking early
- Watch for early moss growth on sills or trim and clean it off before it spreads, rather than letting it sit through another wet season
None of this is heavy maintenance — it's the difference between a window package that still looks and performs like new after several Whatcom County winters and one that starts showing its age early.
If you're planning a new build in Birch Bay and want the window package handled by a crew that already understands this stretch of coastline, we're happy to walk the plans with you and provide a free, no-pressure estimate — just reach out through the form below.