 Blaine Exterior
 Why Birch Bay Wears Out Siding Faster Than Most of Whatcom County
Birch Bay sits right on the water, and that changes what siding has to survive compared to a home even a few miles inland. Salt-laden air moves off the bay and settles on exterior walls day after day, year after year. Combine that with wind-driven rain that hits siding at an angle instead of falling straight down, and you get moisture intrusion at seams, laps, and fastener points that drier, more sheltered homes rarely deal with. Add a long, damp shoulder season that keeps north- and west-facing walls shaded and wet for weeks at a time, and you have ideal conditions for moss, algae, and mildew to take hold on anything that isn't engineered to resist them.
None of this means Birch Bay homes need exotic materials or unusual construction. It means the siding, the water-resistive barrier behind it, and the installation details all have to be right for a marine, high-moisture environment — not just installed to a generic spec that works fine in a dry, sheltered lot.
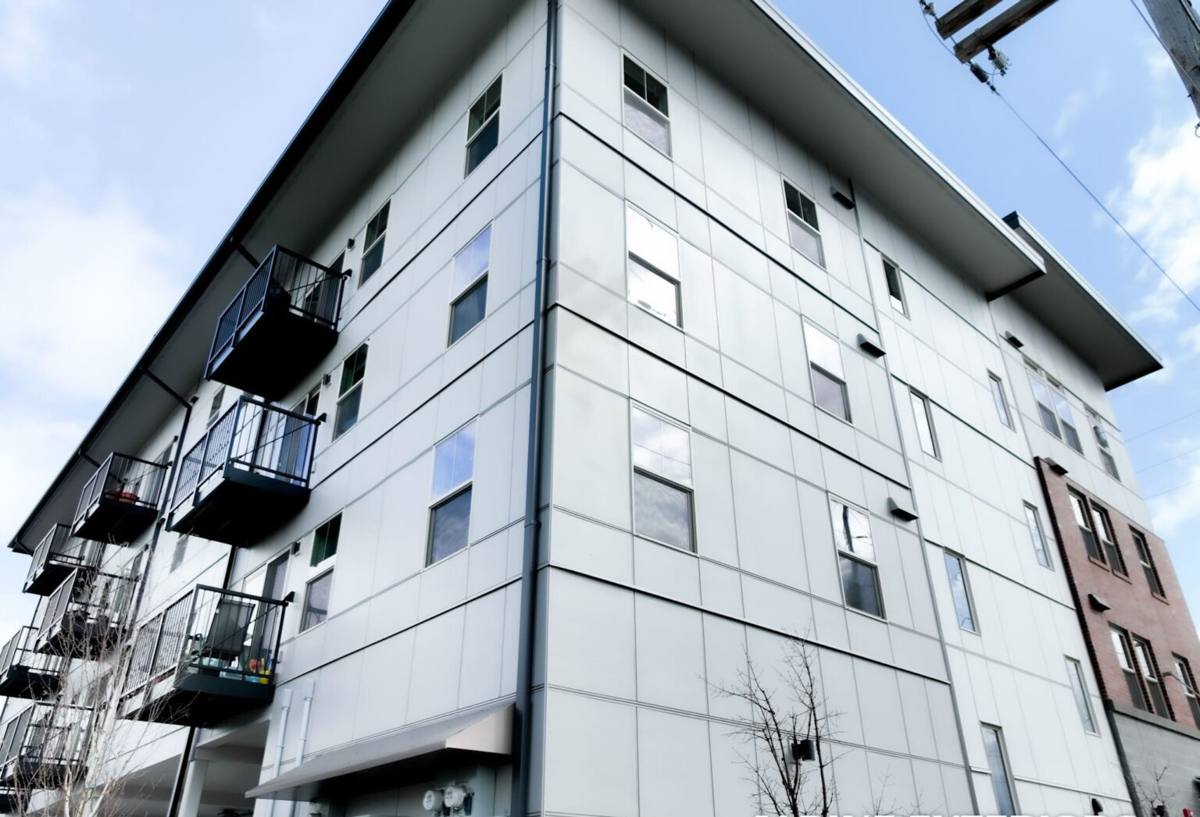
What Failing Siding Looks Like on Birch Bay Homes
We see the same patterns repeatedly on waterfront and near-waterfront properties in this area:
- Paint that's chalking, peeling, or fading years ahead of schedule, especially on bay-facing walls
- Soft or swollen spots near the bottom courses, around window trim, or at butt joints where water collects
- Persistent green or black staining that comes back within a season of being pressure-washed
- Warping or cupping boards on wood-based products that have absorbed and released moisture repeatedly
- Corroding or streaking fasteners, a sign that moisture is reaching the wall assembly, not just the surface
By the time these signs are visible from the street, there's often already moisture behind the siding affecting sheathing or framing. That's why we look past the surface during an inspection — cosmetic damage is usually the last symptom to show up, not the first.
Why We Install Only James Hardie Fiber Cement
We don't install vinyl, LP SmartSide, Cemplank, Allura, primed spruce, or cedar. That's a deliberate standard, not a sales preference, and it matters more here than in a lot of markets because Birch Bay's combination of salt exposure and constant moisture is genuinely hard on siding.
Vinyl is inexpensive and low-maintenance in the sense that it doesn't need paint, but it's a thin plastic product that can warp in temperature swings, crack in impacts, and fade unevenly over time — and once it fades or cracks, there's no refinishing it, only replacing the affected panels. Wood-based products like primed spruce or cedar look great initially but require consistent repainting and caulking to stay ahead of moisture, and in a marine environment that maintenance schedule tightens up considerably. Engineered wood siding (LP SmartSide) has improved moisture resistance over older wood products, but it's still wood-based at its core, and wood-based cores are more sensitive to sustained damp conditions than fiber cement. Other fiber cement brands like Cemplank and Allura are legitimate products, but we've standardized on one manufacturer so our crews install one system to one spec, with one warranty structure, every time — which is how you avoid the installation inconsistencies that cause most siding failures.
James Hardie fiber cement is non-combustible, dimensionally stable in wet-dry cycling, and finished at the factory with ColorPlus Technology — a baked-on finish that resists fading and chipping far better than field-applied paint. Hardie's HZ5 product line is specifically engineered for harsh climate zones, which fits a bay-facing property better than a standard product line designed for milder inland exposure. The warranty is transferable to a future buyer, which matters if you ever sell — a documented, code-compliant Hardie installation is a selling point on a Whatcom County waterfront property, not just a maintenance item.
What Hardie Doesn't Fix By Itself
Fiber cement is only as good as the installation behind it. A Hardie install with the wrong fastener pattern, missing flashing, or insufficient clearance from grade will still let water in — the product resists moisture damage far better than wood or vinyl, but it isn't waterproof armor. The installation details below matter as much as the material choice.
What a Correct Siding Replacement Involves
Replacing siding on a Birch Bay home is not just stripping old material and nailing up new boards. A correct job addresses the wall assembly, not just the visible surface:
- Full tear-off and sheathing inspection — old siding comes off so the sheathing underneath can be checked for rot, soft spots, or existing moisture damage before anything new goes on
- Water-resistive barrier replacement — a new weather-resistant barrier is installed correctly lapped, shingle-style, so water sheds outward instead of tracking behind the wall
- Proper flashing at every penetration — windows, doors, hose bibs, vents, and electrical penetrations all need flashing that directs water out, not into the wall cavity
- Correct fastening per Hardie's engineering specs — fastener type, spacing, and placement are specific to the product and climate zone, not a generic siding install pattern
- Ground and roofline clearance — siding kept off grade and away from roof/deck intersections so splash-back and pooled water can't wick into the material over time
- Caulking and sealant only where Hardie specifies it — over-caulking traps moisture in places designed to drain; under-caulking leaves gaps that shouldn't exist
Skipping any one of these steps is how a siding job that looks fine on installation day starts failing within a few years — especially in an environment as unforgiving as Birch Bay's.
Our Process, Start to Finish
1. On-Site Inspection
We look at your current siding, the exposure of each wall (bay-facing walls generally take the worst of it), and any signs of moisture already present. This tells us whether we're dealing with a straightforward re-side or whether there's sheathing repair to plan for.
2. Scope and Estimate
You get a clear, written estimate covering material, tear-off, any sheathing repair contingencies, and installation — no vague allowances that turn into surprise change orders mid-project.
3. Tear-Off and Assessment
Old siding comes off, and we inspect the sheathing before covering anything back up. If there's damage, we address it before the new barrier and siding go on — not after.
4. Barrier, Flashing, and Siding Installation
Water-resistive barrier, flashing, and Hardie fiber cement go on in that order, to spec, with attention to the wall orientations that face the bay directly.
5. Final Walkthrough
We walk the finished job with you, check trim and caulk lines, and make sure everything meets the standard we'd want on our own home.
Cost Factors for Birch Bay Siding Replacement
| Factor | Why It Affects Cost | Birch Bay Consideration |
|---|---|---|
| Sheathing condition | Rot or moisture damage found during tear-off requires repair before new siding goes on | More common on older bay-facing walls with years of salt and rain exposure |
| Home size and wall complexity | More square footage, corners, and trim details increase labor time | No different from inland homes, but waterfront lots sometimes have tighter access |
| Siding profile and finish | Lap width, texture, and ColorPlus color selection affect material cost | Darker ColorPlus finishes can help hide salt film between cleanings |
| Trim and accessory work | Corner boards, window trim, and fascia work are often bundled with a re-side | Worth addressing at the same time to avoid mismatched weathering later |
| Site access | Staging, scaffolding, and material staging near the water can affect labor time | Some Birch Bay lots have limited driveway or yard space for staging |
We give you real numbers after an on-site look — not a phone estimate — because sheathing condition in particular can't be assessed accurately from a photo or a drive-by.
Why It Matters to Hire a Crew That Already Works Birch Bay
Siding installation standards don't change by neighborhood, but judgment calls do. A crew that regularly works Birch Bay knows which walls typically take the worst of the bay exposure, understands why flashing and clearance details matter more here than on a sheltered inland lot, and isn't guessing at how a marine environment behaves over a Pacific Northwest winter. That familiarity shows up in fewer callbacks and a job that's built for the conditions it actually faces, not a generic spec sheet.
It also means someone local who stands behind the work after the trucks leave — not a crew that installed a handful of jobs in the area and moved on to a different market.
After Your New Siding Goes On
James Hardie siding is low-maintenance, but "low-maintenance" doesn't mean "no maintenance" — especially this close to the water. A simple annual routine keeps it performing the way it's designed to:
- Rinse siding with a garden hose (not a pressure washer) once or twice a year to clear salt film and organic buildup
- Check caulk lines around windows, doors, and trim annually for cracking or separation
- Keep gutters clean so overflow doesn't run down the siding face repeatedly
- Trim back vegetation and landscaping that keeps any wall shaded and damp longer than necessary
- Address any moss or algae growth early with a gentle cleaning rather than letting it establish
None of this is demanding, but skipping it on a bay-facing home shortens the runway before you're dealing with the same problems that likely brought you to this page in the first place.
If your Birch Bay home's siding is showing chalking, staining, soft spots, or persistent moss, we're glad to take a look and give you a straight, no-pressure estimate — use the form below to get started.