 Blaine Exterior
 Siding Installation in Lynden: Built for Whatcom County Weather
Lynden sits in the Nooksack Valley farmland of Whatcom County, close enough to the Salish Sea that homes here still deal with marine-influenced weather even though the coastline itself is a few miles off. That means long stretches of steady, wind-driven rain, damp air that lingers over the fields and river bottoms, and a moss season that can run from fall through spring on any wall or roofline that doesn't get much direct sun. Siding in this area isn't just a cosmetic layer — it's the barrier standing between that weather and your home's framing, insulation, and interior finishes.
A lot of siding problems we see in Lynden aren't caused by one big storm. They're caused by years of moisture finding small gaps — around trim, at butt joints, behind poorly flashed windows — and slowly doing damage that isn't visible until a wall is opened up. Getting siding installation right the first time matters more here than it does in a dry climate, because the margin for error is smaller.
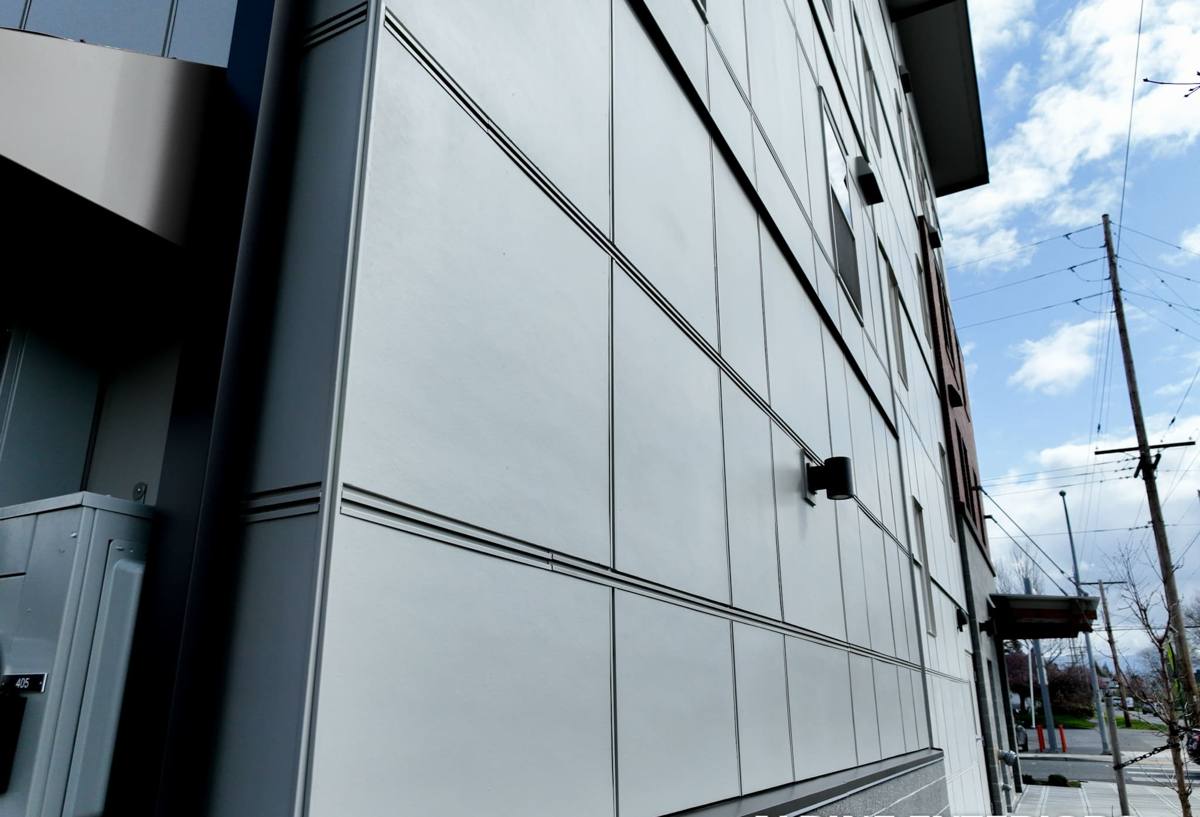
What Lynden Homes Actually Need From Their Siding
Homes in and around Lynden range from older farmhouses to newer subdivisions, but the exterior challenges are similar across most of them:
- Wind-driven rain that pushes water sideways into joints and seams, not just straight down
- Shaded north- and east-facing walls, especially near trees or outbuildings, where moss and mildew get a foothold and rarely dry out fully
- Damp, humid air off the surrounding farmland and river valley that keeps siding surfaces wet longer after a storm passes
- Temperature swings between summer heat and winter cold that stress caulking, paint film, and any material prone to swelling or shrinking
Siding that isn't matched to those conditions — or that's installed without proper water management — tends to show it early: streaking, soft spots, peeling paint, or moss creeping up from the bottom courses. A correct installation is designed around keeping water moving out and away from the wall, not just keeping it looking good on day one.
What Correct Siding Installation Actually Involves
Siding is a system, not just a set of boards nailed to the wall. Done right, an installation includes several layers working together:
Water-Resistive Barrier and Flashing
Before a single piece of siding goes up, the wall needs a properly lapped weather-resistive barrier, and every penetration — windows, doors, hose bibs, vents, electrical outlets — needs to be flashed so water is directed out and down, never trapped behind the siding. This step is invisible once the job is done, but it's the single biggest factor in whether siding lasts.
Drainage and Ventilation Gap
Fiber cement siding performs best with a small gap between the back of the siding and the wall assembly, allowing incidental moisture to drain and air to circulate so the wall can dry out after wet weather. Skipping this step is a common shortcut that shows up as trapped moisture years later.
Fastening and Joint Treatment
Manufacturer-specified nailing patterns, proper fastener penetration into framing, and correctly sized gaps at butt joints all affect how the siding handles expansion, contraction, and wind load. Caulk has a role at trim and penetrations, but it should never be the only thing standing between a joint and the weather — flashing and lap technique do the real work.
Trim, Corners, and Transitions
Roof-to-wall intersections, deck ledgers, and corner boards are where most siding failures start, because they're the hardest details to get right and the easiest to rush. These transitions need to be built to shed water, not just look finished.
Why We Install Only James Hardie Fiber Cement
We don't install vinyl, LP SmartSide, Cemplank, Allura, primed spruce, or cedar. That's a deliberate standard, not a limitation of what we're capable of doing. Every one of those products has legitimate uses, but each comes with a trade-off — moisture sensitivity, coating maintenance, dimensional movement, or a finish that depends heavily on how carefully it's installed and maintained — that we're not willing to put our name behind in a climate like Whatcom County's.
James Hardie fiber cement is engineered specifically to resist the kind of punishment this region delivers:
- Non-combustible material composition, which also means it doesn't feed insects or rot the way wood-based products can
- ColorPlus factory-applied finish, baked on under controlled conditions rather than field-painted, which holds color and resists the fading and peeling that painted wood and some engineered products struggle with
- HZ5 climate-engineered formulation for the Pacific Northwest, built to hold up against sustained moisture exposure rather than the drier, hotter conditions other regions face
- A strong, transferable manufacturer warranty backed by a company with a long track record, not a newer product still proving itself in the field
None of that replaces good installation practice — even the best siding material fails early if the water management behind it is wrong. But starting with a product engineered for this exact climate gives a correctly installed job the best possible odds of lasting decades instead of years.
Comparing Siding Options for a Marine Climate
| Factor | James Hardie Fiber Cement | Vinyl | Wood / LP-Style Engineered Wood |
|---|---|---|---|
| Moisture resistance | Engineered for sustained wet climates (HZ5) | Doesn't absorb water, but seams and panels can warp or gap over time | Vulnerable to swelling, rot, and moisture intrusion at cut edges |
| Finish durability | Factory-baked ColorPlus finish resists fading | Color molded in but can chalk and fade with UV exposure | Relies on field-applied paint or factory coating that needs upkeep |
| Fire resistance | Non-combustible | Melts/deforms under heat | Combustible unless treated |
| Moss and mildew resistance | Dense material and finish resist staining | Can trap moisture behind panels in shaded areas | Porous surfaces are prone to moss and mildew growth |
| Typical warranty | Long-term, transferable | Varies widely by manufacturer and grade | Often shorter, with more exclusions for moisture damage |
Our Installation Process for Lynden Homes
Every job starts with an honest look at what's actually going on with the home, not a sales pitch.
- Exterior assessment. We check the current siding, trim, flashing, and any visible signs of moisture damage, moss buildup, or past repairs before recommending anything.
- Removal and inspection. Old siding comes off so we can inspect the sheathing and framing underneath — this is often the only chance to catch hidden rot or moisture damage before it's covered up again.
- Water-resistive barrier and flashing. We install or repair the weather barrier and flash every window, door, and penetration according to manufacturer specifications, not shortcuts.
- Hardie installation. Panels or planks go up following James Hardie's fastening, spacing, and clearance requirements, including the drainage gap where the wall assembly calls for it.
- Trim, caulking, and finish detail. Corners, trim boards, and penetrations get finished so water sheds away from the wall rather than pooling or wicking in.
- Final walkthrough. We go over the finished work with the homeowner and explain basic care so the siding performs the way it's designed to for the long haul.
Signs Your Lynden Home May Need New Siding
Not every siding problem means a full replacement, but several signs are worth taking seriously in this climate:
- Moss or dark streaking that keeps coming back after cleaning, especially on shaded walls
- Soft or spongy spots when you press on the siding near the bottom courses or below windows
- Paint that's peeling or bubbling rather than just fading, which often points to moisture underneath
- Visible warping, cracking, or gaps at joints and corners
- Rising heating bills or drafts that suggest the wall assembly behind the siding isn't sealed properly
- Interior signs like musty smells, discoloration, or peeling paint on walls that share an exterior wall with problem siding
Choosing a Siding Contractor Who Actually Knows Lynden
Whatcom County's mix of coastal-influenced rain patterns, farmland humidity, and long moss seasons rewards contractors who understand the specific way this weather attacks a wall assembly — and punishes ones who don't. A crew that's used to drier or milder climates can install siding perfectly well by a generic checklist and still get water management details wrong for what this area actually throws at a house.
Before hiring anyone for a siding installation in Lynden, it's worth checking:
- Do they install to the manufacturer's written specifications, including flashing and fastening details, or just "how we've always done it"?
- Are they licensed and insured to work in Washington, and will they show proof without being asked twice?
- Do they explain the water-resistive barrier and drainage plan for your specific wall assembly, or skip straight to color and style?
- Will they inspect the sheathing once old siding is off, rather than just covering whatever's underneath?
- Do they have experience with the product they're proposing, or are they installing it for the first time on your home?
A siding job that's cut corners on flashing or drainage can look fine for a year or two before problems surface — by then the contractor is long gone and the repair is bigger than the original job would have been. Local experience with Whatcom County's weather isn't a nice-to-have, it's what keeps that from happening.
Get a Straight Answer for Your Home
If your siding is showing its age, holding onto moss no matter how often it's cleaned, or you're just planning ahead for a home in Lynden's marine climate, we're happy to take a look and give you a straightforward assessment — no pressure, no upsell. Fill out the form below to request a free estimate.