 Blaine Exterior
 Building New in Grandview? The Windows Are Where Water Problems Start
If you're framing a new home in the Grandview area of Blaine, the windows are one of the few building components that have to perform two jobs at once: keep the house dry for the next fifty years, and do it while sitting in one of the more exposed pockets of Whatcom County. Grandview sits close enough to the water that salt-laden air, wind-driven rain off the Strait, and a long wet moss season are just part of the building envelope's daily reality. A window that's a good fit for a subdivision in the Cascade foothills isn't automatically the right call out here.
New-construction window installation is a different trade than replacing an old window in an existing wall. It happens before the siding goes on, while the wall is still open framing wrapped in house wrap, and it sets the flashing sequence that everything else — siding, trim, drainage plane — has to key into. Get it right at this stage and the wall assembly works with the weather for decades. Get it wrong and you've built a leak into the house that won't show up until the drywall is long since painted.
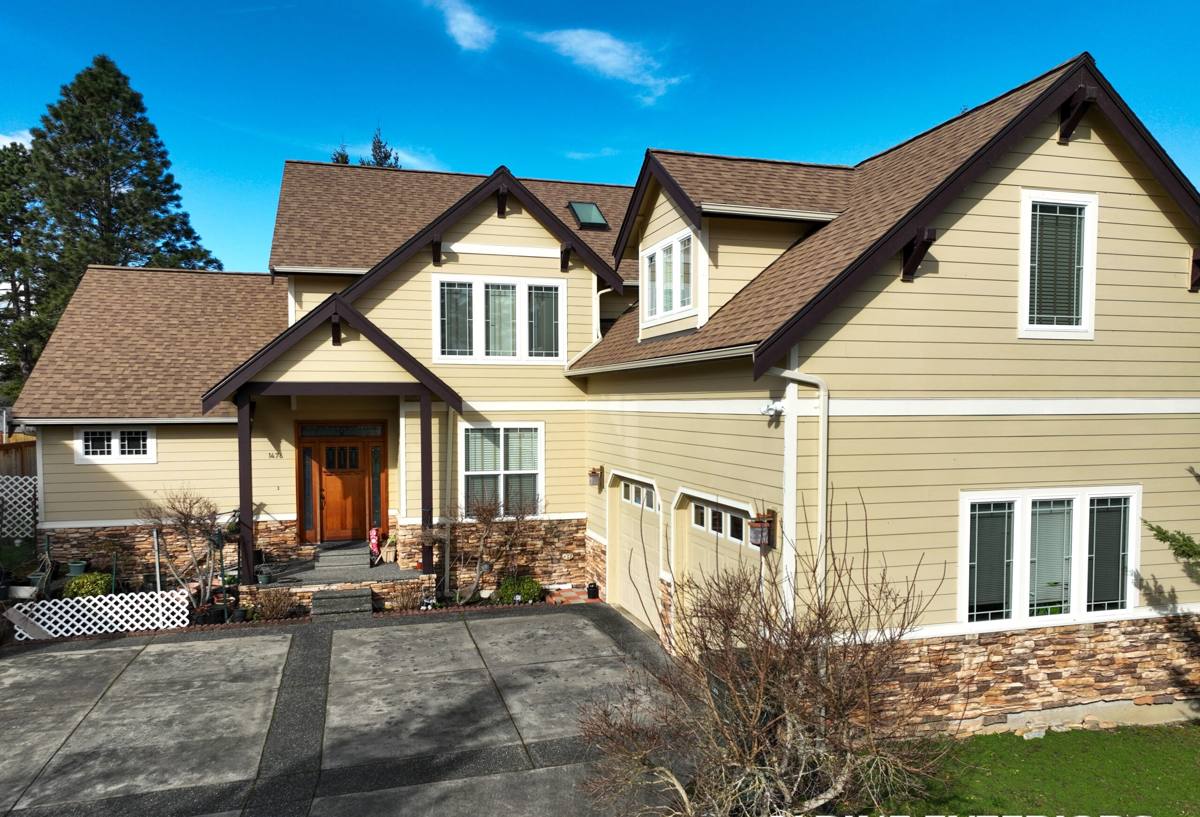
New-Construction vs. Replacement: Why the Distinction Matters
Homeowners and even some builders use these terms loosely, but the installation methods are not interchangeable, and using the wrong one on a new build is a common source of early water intrusion.
| Factor | New-Construction Window | Replacement (Retrofit) Window |
|---|---|---|
| Installed into | Open stud bay, before siding | Existing finished wall opening |
| Attachment | Nailing flange fastened to sheathing | Frame fastened through existing jambs or with flush-fin method |
| Flashing access | Full access to sill pan, WRB laps, and jamb flashing | Limited; relies on sealants and existing wall conditions |
| Typical use | New builds, additions, full wall-opening remodels | Existing homes keeping the current opening size |
On a new build in Grandview, we always spec and install true new-construction units with a nailing flange. It's the only method that lets us build a complete, lapped drainage path from the sill pan up through the head flashing before the siding crew ever shows up.
What Blaine's Climate Actually Demands From This Install
Salt Air
Airborne salt from Drayton Harbor and the Strait of Georgia accelerates corrosion on unprotected fasteners and lower-grade hardware. It also degrades some sealants and finishes faster than manufacturers' general climate ratings assume. We factor this into fastener selection and sealant choice, not just the window unit itself.
Driving Rain
Wind-driven rain doesn't behave like a gentle vertical shower — it gets pushed sideways and upward against the wall, which means it tests every lap and seal in the flashing assembly, not just the sill. A window that's merely "sealed with caulk" around the flange will eventually fail under this kind of exposure. A window that's properly flashed with a shingled, gravity-fed drainage path will shed that water regardless of wind direction.
Moss and Sustained Moisture
Whatcom County's long wet season keeps exterior surfaces damp for extended stretches, which is exactly the condition moss and algae need to establish on trim, sills, and siding. Moisture sitting against a window opening for months at a time also means any small flashing defect has far more time to do damage than it would in a drier climate. Correct drainage detailing isn't optional trim-out here — it's the difference between a wall that dries out between storms and one that never really does.
The Flashing and Weather-Barrier Sequence We Follow
This is the part of the job that determines whether a new-construction window performs for thirty years or leaks within five. There's no substitute for doing it in the correct order.
- Rough opening is checked for square, level, and correct dimensions before the window ever arrives on site.
- A sloped sill pan is formed so any water that gets past the window has somewhere to go — out, not into the wall cavity.
- Self-adhered flashing membrane is applied at the sill first, then up the jambs, in a shingle-lap order so every layer drains onto the one below it.
- The window is set, leveled, and fastened through the nailing flange per the manufacturer's fastening schedule — not "close enough."
- Head flashing goes on last, lapped over the house wrap above it, completing the drainage path from the top down.
- The weather-resistive barrier is integrated back over the flanges so the whole assembly reads as one continuous drainage plane before siding starts.
Skipping or reordering any one of these steps is how "the window leaked" complaints happen two or three winters after a home is finished — long after the crew that installed it has moved on.
Frame Material and Glass: What Holds Up Out Here
We don't push one brand for every job, but we do steer new builds in this area away from frame materials and glass packages that struggle with sustained coastal exposure. The tradeoffs are worth understanding before you spec windows for a Grandview build.
| Frame Material | How It Handles This Climate | Maintenance Consideration |
|---|---|---|
| Vinyl | Good moisture and corrosion resistance; budget-friendly | Minimal upkeep; dark colors can expand more in sun exposure |
| Fiberglass | Very stable dimensionally, strong resistance to moisture and salt exposure | Low maintenance; higher upfront cost |
| Wood or Wood-Clad | Excellent interior look; exterior wood face vulnerable to sustained moisture without diligent upkeep | Requires regular finish maintenance in a wet climate |
| Aluminum | Strong but thermally conductive; can promote condensation in cold, damp conditions | Needs a thermal break for this region |
For most new builds in Grandview, we recommend a dual- or triple-pane unit with low-E coated glass and argon fill — it manages both the marine humidity and the temperature swings between our wet winters and warmer summer stretches. Corrosion-resistant fasteners and hardware are a standard part of the spec, not an upgrade, given the salt-air exposure this close to the water.
Our New-Construction Installation Process
We coordinate directly with your builder or general contractor rather than working in isolation, since window install timing affects the framing, WRB, and siding crews on either side of us.
- Plan review: we confirm window schedule, rough opening sizes, and manufacturer flashing requirements before the units are ordered.
- Rough opening inspection: openings are checked for square and correct dimension before installation day.
- Sill pan and flashing membrane install: done per the sequence above, unit by unit.
- Window setting and fastening: leveled, shimmed as needed, and fastened to the manufacturer's schedule.
- Head flashing and WRB integration: tied back into the house wrap so the drainage plane is continuous.
- Walkthrough with the builder: before siding starts, so any wall-assembly questions get resolved while the opening is still accessible.
That last step matters more than it sounds. Once siding goes up, fixing a flashing mistake means tearing back into finished exterior work. Catching it before then costs nothing but a few minutes.
What Drives the Cost
Every new build is different, but the main cost factors on a Grandview job tend to be the same handful of variables:
| Factor | How It Affects Cost |
|---|---|
| Frame material | Vinyl is typically the most economical; fiberglass and wood-clad run higher |
| Glass package | Triple-pane and upgraded low-E coatings add cost but improve comfort and efficiency |
| Window size and count | Larger openings and higher window counts scale cost directly |
| Site exposure | Higher-exposure elevations may warrant upgraded sealants or fastener packages |
| Coordination complexity | Tight scheduling with other trades on an active build site can affect labor cost |
We'll walk through actual numbers once we know your window schedule and specs — broad brush figures aren't much use on a custom build.
A Quick Checklist Before You Sign Off on Windows for a New Build
- Confirm the installer is specifying true new-construction units with a nailing flange, not retrofit windows.
- Ask what the sill pan and flashing sequence looks like, in order — a vague answer is a red flag.
- Verify frame material and glass package are appropriate for coastal, high-moisture exposure.
- Make sure fasteners and hardware are corrosion-resistant given the salt-air environment.
- Get the flashing walkthrough scheduled before siding starts, not after.
- Confirm manufacturer warranty terms are preserved by following their specified installation method.
Why Local Grandview Experience Matters
A window installer who mostly works drier, more sheltered parts of Whatcom County can still do competent work — but a crew that's routinely out on builds in Blaine's marine-exposed neighborhoods already knows which details need extra attention here: where wind-driven rain hits hardest, how long moss season keeps surfaces damp, and which fastener and sealant choices actually hold up against salt air year after year. That's not something you pick up from a spec sheet; it's something you learn from doing the work in this specific environment, repeatedly, and seeing how it holds up over time.
If you're planning a new build or addition in Grandview and want windows installed the right way the first time, we're happy to walk your plans, talk through frame and glass options, and give you a straightforward, no-pressure estimate. Reach out using the form below to get started.