 Blaine Exterior
 New-Construction Windows Are a Different Job Than Replacement
When people think about window contractors, they often picture replacement work — swapping out a tired old window in an existing wall. New-construction windows are a different trade entirely. These units go in during framing, before siding, house wrap, or interior finishes are complete, and they use a nailing fin that gets integrated directly into the wall's weather-resistive barrier. There's no old window to reference, no existing flashing to work around, and no room for guesswork about how water will move around the opening for the next 30-plus years. Get it right at this stage and the window performs quietly for decades. Get it wrong, and the mistake gets buried behind siding and trim, where it won't show up until there's already damage.
For homeowners and builders working on new construction in Everson, this stage of the build deserves the same attention as the foundation or the roof framing. It's easy to overlook because windows look simple from the outside — a frame, some glass, a lock. The part that actually determines long-term performance is the flashing and integration work that nobody sees once the wall is closed up.
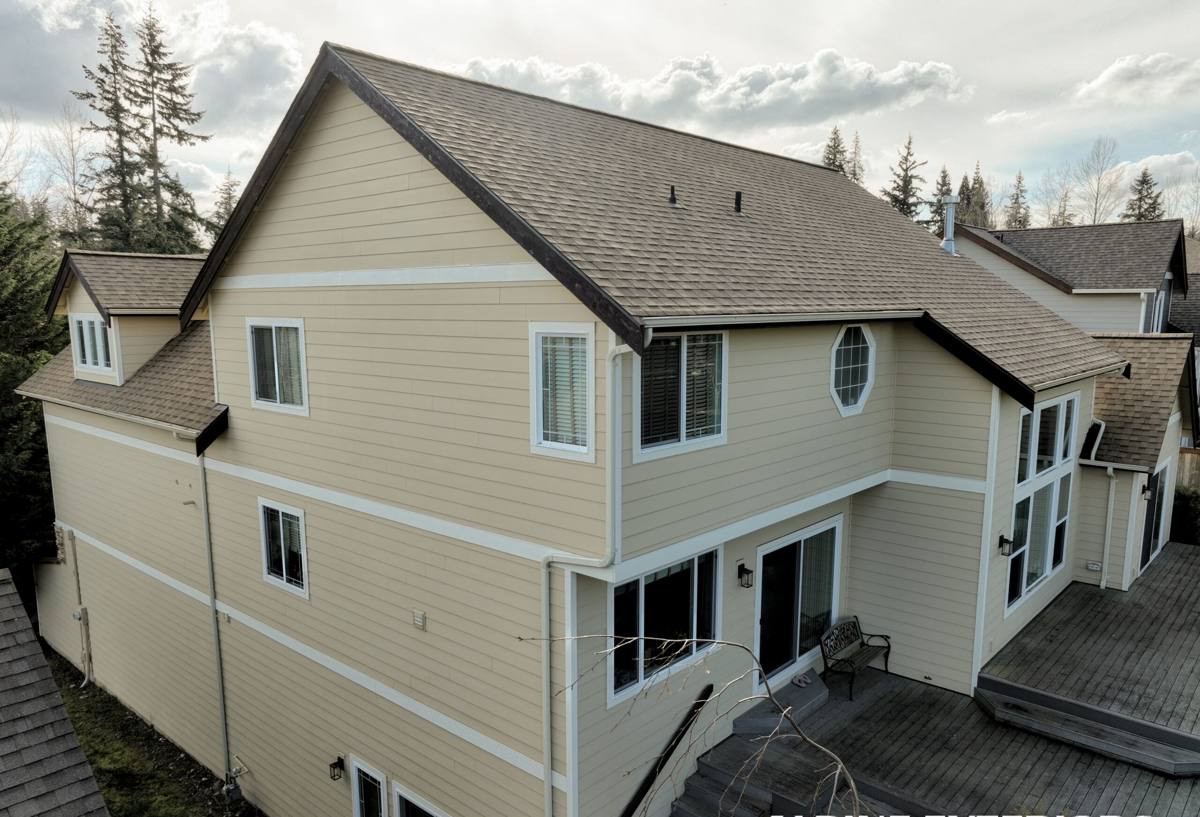
What Everson's Climate Demands From a Window Installation
This part of Whatcom County sees a lot of rain, extended stretches of high humidity, and driving wind that can push water sideways against a wall rather than letting it simply run down. Add in the moss season that settles over roofs, siding, and window sills for much of the year, and you've got a climate that punishes any gap in the water management plan. Windows installed without proper drainage paths or with shortcuts in the flashing sequence tend to show their problems slowly — a soft spot in the sill, a stain creeping down interior drywall, or a musty smell in a bedroom corner that nobody can quite trace back to its source.
New construction gives you the advantage of doing this correctly from day one, but only if the crew treats the window opening as a full water-management system rather than a hole to be filled. In a valley climate like this one, with regular saturating rain and long damp stretches where nothing dries out quickly, that discipline matters more than it would in a drier region.
Where Water Actually Gets In
Almost every window leak traces back to one of three places: the sill (water pooling or wicking in from below), the head (water running down the wall face and finding a path behind the flashing), or the side jambs where the window meets the rough opening framing. A correct installation addresses all three, not just the visible caulk line around the trim.
The Anatomy of a Correct Installation
A properly installed new-construction window follows a specific sequence. Skipping steps or doing them out of order is one of the most common ways water problems get built into a house before it's even finished.
Sill Pan and Back Dam
Before the window ever goes into the opening, the rough sill should have a sloped or pan-flashed surface with a back dam — a small raised lip at the interior edge that stops any water that gets past the window from running into the wall cavity or onto the subfloor. This is one of the most skipped steps in framing-stage window work, and it's the cheapest insurance against a callback years later.
Weather-Resistive Barrier Integration
The window's nailing fin needs to be woven into the house wrap in the correct shingle-lap order — side flashing over the sill flashing, house wrap over the side flashing, and head flashing over the house wrap above the window. Done out of sequence, water runs behind a layer instead of over it, and the mistake is invisible until the siding comes off years later during a repair.
Shimming, Air Sealing, and Insulation
The window needs to be shimmed plumb, level, and square at the manufacturer's specified points, without over-compressing the frame (which can bind sashes or crack glazing seals over time). The gap between the window frame and rough opening should be sealed with a low-expansion foam or backer rod and sealant rated for window applications — not packed solid with standard can foam, which can bow the frame.
Washington Energy Code and Choosing the Right Product
Washington's state energy code sets requirements for window U-factor (how well the window resists heat loss) and solar heat gain coefficient, and those requirements have gotten stricter over recent code cycles. For new construction, your window order needs to match what the approved building plans specify — this isn't an area where a contractor should be guessing or substituting a similar-looking unit at the last minute. Frame material also matters more in a wet, moss-prone climate than it might elsewhere.
| Frame Material | Moisture Behavior | Maintenance | Typical Fit for This Climate |
|---|---|---|---|
| Vinyl | Won't rot or corrode; handles humidity well | Low — occasional cleaning | Strong all-around choice for wet climates |
| Fiberglass | Very stable, minimal expansion/contraction | Low | Excellent, especially for larger openings |
| Wood / Wood-Clad | Attractive but vulnerable if cladding or seals fail | Higher — finish and joint upkeep | Workable, but installation quality matters more |
| Aluminum | Prone to condensation without thermal breaks | Moderate | Least suited unless thermally broken |
We don't push homeowners toward one brand or material across the board. We do steer people away from products or details that create extra maintenance burden or moisture risk in this specific climate — for example, an aluminum frame without a thermal break will condensate heavily in a cold, humid Whatcom County winter, and that's a problem baked into the product, not something an installer can fix afterward.
Egress, Safety Glazing, and Code Compliance
New construction also means the window plan has to satisfy code requirements that a remodel might not trigger. Bedrooms need egress-sized windows that meet minimum opening height, width, and sill height requirements for emergency escape. Windows near doors, stairs, tubs, or showers typically need tempered safety glazing. On new builds, these requirements get checked against approved plans and inspected before the wall closes up, so there's little room to correct a mistake after the fact without opening the wall back up.
- Confirm bedroom window sizes and sill heights meet egress requirements before ordering
- Verify tempered glass locations against code (near doors, low sills, wet areas)
- Match ordered U-factor and SHGC values to what's on the approved energy code compliance forms
- Check rough opening dimensions against actual window unit sizes before framing is finalized
- Confirm flashing materials are compatible with the house wrap and siding system being used
How Our Process Works on a New Build
On most new-construction jobs we're brought in by the general contractor or homeowner-builder at the framing stage, once rough openings are set but before house wrap goes on. We review the window schedule against the plans, confirm every unit's size, glazing, and rating match what's specified, and then sequence our flashing and installation work with whoever is running house wrap and siding, so the layers go on in the correct order rather than in a rush to hit a schedule. We test operable sashes and locks before we leave the site, and we walk the exterior with whoever's overseeing the build so flashing and sealant details are visible and understood before they're covered by trim or siding.
Because we work with builders on new construction throughout Whatcom County, we're used to coordinating around a framing and siding schedule rather than working in isolation — which matters, because a window crew that shows up out of sequence can hold up the rest of the build or get rushed into skipping steps.
What Drives Cost on a New-Construction Window Job
| Factor | Why It Matters |
|---|---|
| Number and size of openings | More and larger units mean more material and labor hours |
| Frame material and glazing package | Vinyl, fiberglass, and wood-clad carry different unit costs; upgraded glazing for energy code adds cost |
| Window shape and configuration | Custom shapes, large sliders, or multi-unit combinations take more setup time |
| Flashing and drainage detailing | Doing sill pans and shingle-lap flashing correctly takes more time than a rushed installation, but avoids callbacks |
| Site access and building height | Second-story or hard-to-reach openings require more setup and safety equipment |
We give straightforward, itemized estimates rather than a single vague number, so you can see what's driving the price and where there's room to adjust the plan if the budget needs it.
Why It Matters to Hire a Crew That Already Works This Area
Everson sits in a part of Whatcom County where rain volume, humidity, and moss growth are simply part of doing exterior work correctly. A crew that mostly installs windows in drier climates may not default to sill pans, back dams, and shingle-lap flashing as standard practice — because in a drier region, those steps are more forgiving to skip. Here, they're not optional details; they're the difference between a window that performs for decades and one that causes a slow, hidden problem behind the wall. We build every new-construction window installation around this region's actual weather, not a generic national standard.
If you're planning new construction in Everson and want windows installed the right way from the framing stage forward, we're happy to walk the plans with you and put together a free, no-pressure estimate — just fill out the form below to get started.